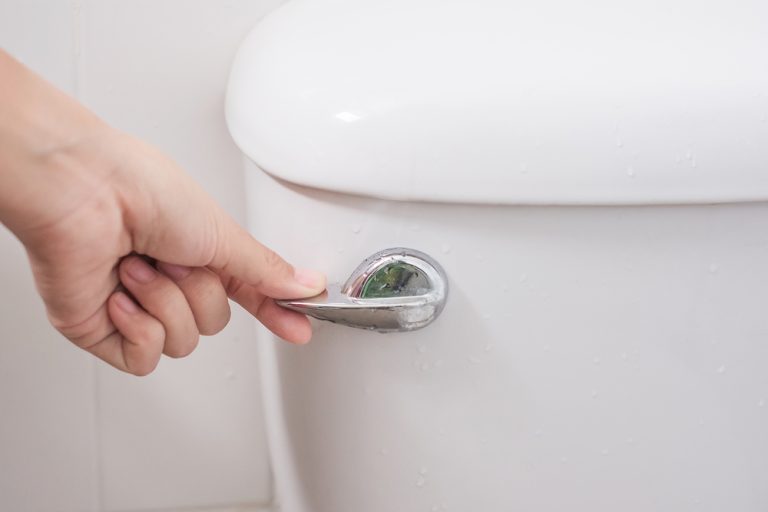
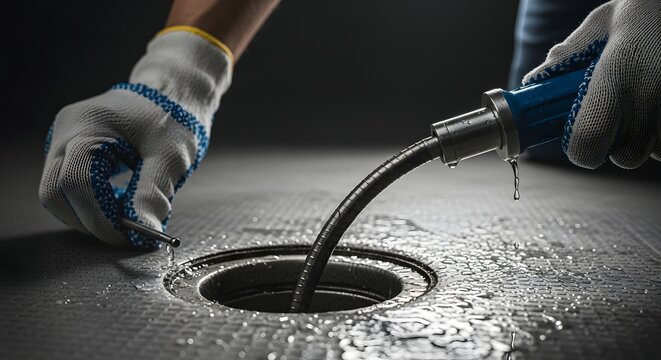
how to replace a broken toilet handle is one of the most common and useful DIY plumbing skills every homeowner should know. A broken toilet handle can cause constant running water, weak flushing, or a toilet that will not flush at all. In this complete guide by HomeFix Services, you will learn how to replace a broken toilet handle step by step, how to choose the right replacement handle, and how to avoid common mistakes. This article explains everything in simple terms so you can confidently fix the problem without damaging your toilet.
Understanding How To Replace a Toilet Handle
Before learning how to replace a broken toilet handle, it is important to understand how the toilet handle system works and why it fails.
How a Toilet Handle Works
A toilet handle is connected to a lift arm inside the tank. When you press the handle, the lift arm pulls the chain, which raises the flapper and allows water to flow into the bowl. If any part of this mechanism becomes loose, bent, or broken, flushing problems occur.
Common Reasons Toilet Handles Break
Toilet handles often break due to wear and tear, corrosion, improper installation, or excessive force during flushing. Plastic handles are more likely to snap, while metal handles may bend or loosen over time.
When Replacement Is Necessary
If tightening the handle does not fix the issue or if the handle is cracked, replacement is the best option. Learning how to replace a broken toilet handle prevents water waste and costly plumbing repairs.
Assess Your Toilet Handle Needs
Correct assessment is an important step when learning how to replace a broken toilet handle successfully.
Identify Your Toilet Handle Type
Toilet handles come in front-mount, side-mount, and angle-mount designs. Checking the handle position helps you buy the correct replacement.
Check Compatibility With Your Toilet Tank
Some handles are designed for specific tank thicknesses or internal configurations. Always compare the new handle with the old one before installation.
Tools and Materials Required
Most toilet handle replacements require only basic tools such as an adjustable wrench and a replacement handle kit. Having everything ready makes the process smooth and quick.
Removing the Old Toilet Handle
Removing the old handle is a simple but careful step in how to replace a broken toilet handle.
Access the Toilet Tank Safely
Remove the toilet tank lid and place it on a flat surface to prevent cracking. Turning off the water is usually not required for handle replacement.
Disconnect the Lift Chain
Unhook the chain from the lift arm carefully. This allows the handle to move freely during removal.
Unscrew and Remove the Handle
Most toilet handles use a reverse-thread nut. Turn it clockwise to loosen and remove the broken handle without damaging the tank.
Installing the New Toilet Handle
Correct installation ensures your toilet flushes properly after learning how to replace a broken toilet handle.
Position the New Handle Correctly
Insert the handle through the tank hole, making sure it aligns properly with the lift arm inside the tank.
Secure the Handle Firmly
Tighten the mounting nut gently. Avoid over-tightening, as this can crack the porcelain tank.
Attach and Adjust the Lift Chain
Reconnect the chain, leaving slight slack to allow proper flapper movement. Proper adjustment ensures strong flushing.
Selecting the Right Toilet Handle
Choosing the right replacement handle is an important part of how to replace a broken toilet handle correctly.
Handle Styles and Finishes
Toilet handles are available in chrome, brushed nickel, plastic, and decorative finishes. Choose one that matches your bathroom style.
Front-Mount vs Side-Mount Handles
Understanding your toilet’s mounting style helps avoid buying the wrong handle. Always check before purchasing.
Durability and Material Quality
Metal handles are generally more durable than plastic ones. Investing in quality reduces the chance of future breakage.
The Final Check and Maintenance Tips
Final testing and maintenance complete the process of how to replace a broken toilet handle.
Test the Flush Performance
Flush the toilet several times to ensure smooth operation. The handle should return easily to its resting position.
Common Mistakes to Avoid
Avoid overtightening, improper chain length, and forcing the handle. These mistakes can shorten the lifespan of the handle.
Simple Maintenance Tips
Clean the handle periodically and flush gently to prevent strain. Regular inspection helps catch small issues early.
Conclusion
Learning how to replace a broken toilet handle is a simple and cost-effective way to keep your bathroom functioning properly. With the right tools, proper steps, and quality parts, this repair can be completed quickly and safely. If you prefer professional help or need expert plumbing advice, Home Fix Services is here to help.
Call us today: 380 979 0328


Leave a Reply